So, you’re thinking about becoming a mountain biker? Welcome to the club! It’s a great sport to challenge
But how do you actually get started? A question we hear all too often, so we have set out to provide the ultimate guide on what you need to know, and what questions you might have.
We’ve gone all-in on this one, so there’s a heap of information in here, make sure you check out the table of contents and use it to find the answers you need right now.
How to Meet People
If you don’t have friends already into mountain biking, the best way to get more into it is to find some!
Thankfully most places have a number of ways you can do this. You just have to start digging.
Ride with Friends
First off, if you have a couple of old friends into it, then let them know. It is a great way to reconnect, and most riders love getting new people into the sport.
Also, chances are they will have other friends who are also into mountain biking, so it’s a great way to meet them.
Over time you’ll meet many new people who can show you where the best spots are and help you progress.
Local Clubs
Another great way to meet mountain bikers and find out where the best trails are is to join a club. Often they are run through a local bike shop and put updates on Facebook groups for when rides are.
Again, another great way to connect with other riders and just meet people in your area that you haven’t before!
Shuttle Days
If you are lucky enough to live in an area where certain bike parks/trail centers run shuttle days, then these are great in so many ways.
Not only do you get to ride wayy more trails than you usually would, but you also get to meet a bunch of new people on the way up.
More often than not, they’ll be stocked on their last run and want to show you some other trail. A great way to meet some like-minded folk.
Coaching and Skills Sessions
Coaching in its self is a great way to start mountain biking. You can kick the bad habits before you even make them.
A good base of skills will set you up nicely for progressing fast while being safe at the same time.
Also, a great way to meet some other mountain bikers that are a similar ability to you. It can be great to share the journey of learning to mountain bike with someone else.
Coaching isn’t just for beginners. It can be great for all abilities. Most coaching centers will have lessons for different abilities.
Even for some of the most experienced riders, coaching can point out some areas where you can improve. Again it’s a great way to meet new people at a similar riding level!
Meeting people is one of the most important things when getting into mountain biking. Having someone to show you around, help you out with gear, and someone to share the stoke is super important. In addition, you’ll have that accountability to turn up to the trails regularly, and you’ll soon be much fitter and more comfortable on your bike.
Types of Mountain Biking
One of the most confusing things when starting mountain biking is the sheer number of different types.
It just leads to questions like, what type of riding should I do, what kind of bike do I need, what gear do I need? Ect.
Hang tight will answer all that below and get you well on your way to figuring out where you best fit.
Cross Country Mountain Biking
First up is cross country mountain biking. These are your “all-round” bikers. It incorporates all aspects of mountain biking.
You don’t necessarily ride for the downhills as many people do. Instead, you take the trails and see where you end up.
Often the trails are not all gravity-driven. The important thing is that you are out on the trails riding all sorts, whether up or down or flat.
True cross country racing is a very physical, exciting sport where you race elbow to elbow with the other riders. Typically done in multiple laps of a course that has been set up with a mixture of different features and trail types.
If you like just getting out in the trails and aren’t worried about hitting that big drop or finding the next best downhill trail, then this is the sport. Just get out on your bike and ride.
The Bike
A cross country bike is built for speed when pedaling and climbing with a few comforts for the descent.
They are often hardtails, but more commonly, these days are low-travel full-suspension bikes. Meaning bikes with not much suspension and can be locked out easily for efficient pedaling.
XC bikes are great for getting out on your local trail network and clocking up some miles. A great place to start no matter what type of riding you want to get into.
Trail Riding
Trail riding is a great way to explore an area and really connect back with nature. Typically trail rides will be much longer than XC riding and take you to far more remote places.
It is a very broad style of riding and covers a lot. Essentially it is those big mountain rides or long adventures on a certain trail. They are often one way requiring shuttling back to the start and can be multi-day trips.
It depends on the specific trail you are riding, but the features are often much more natural and more likely hand-built. Challenging terrain can be common as remote areas make it hard for trail builders.
I would suggest starting on the easier, more accessible trails before tackling something too extreme as it can be dangerous out in the mountains.
The Bike
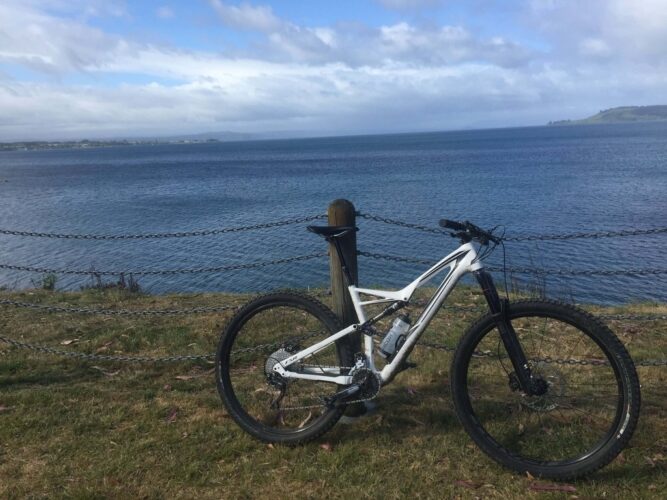
A full-suspension bike is worthwhile here, with a bit more suspension than a cross country bike to make it more comfortable on those big days.
The balance with trail bikes is that you want them to be reasonably fast and comfortable to pedal in.
Still, it needs to be capable of tackling some technical descents.
Trail bikes usually have between 120-150mm of suspension, which is more than a cross country bike but less than an enduro bike.
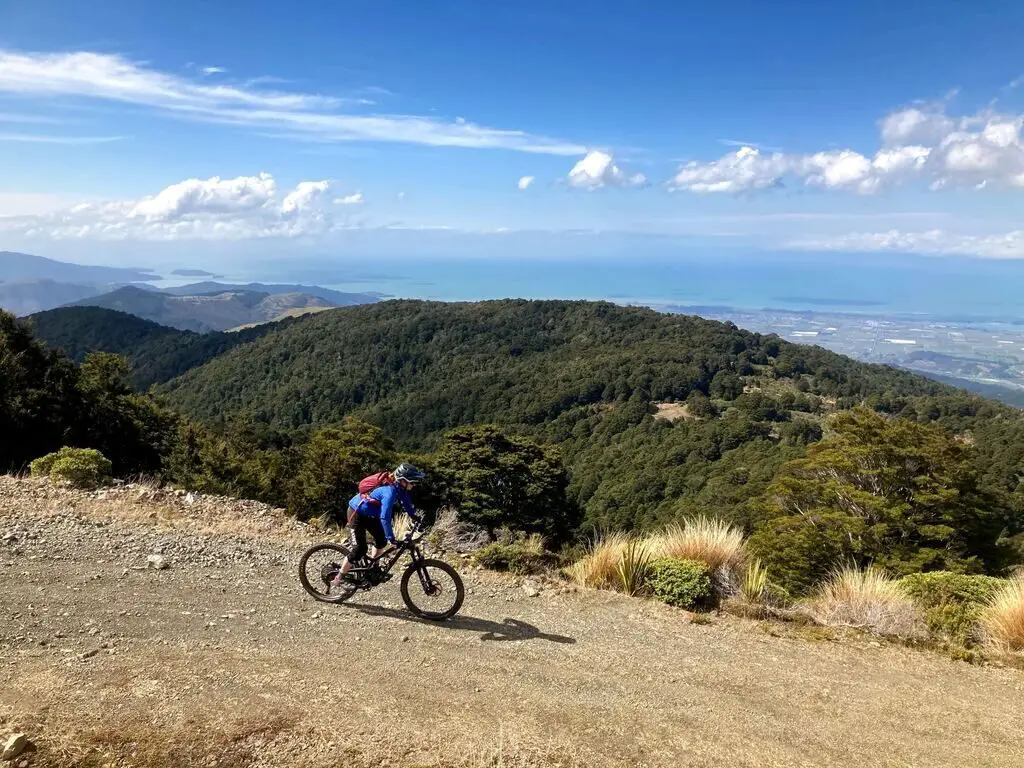
Enduro Riding
Enduro riding is rising in popularity and is the style of riding I tend to do the most of! However, it essentially means just heading out to your local trail center and riding some epic gravity-oriented trails in their true form.
Depending on the park, it is great to link in a shuttle lap to get a bit more descent for your pedaling. Enduro riders still enjoy a good climb but don’t hide that they are out there for the downhill.
Depending on ability, enduro riding often covers some very gnarly technical terrain. It can be demanding on both the bike and the body. However, if you pick your trails, there are certainly some easier ones to start and progress your way up.
The Bike
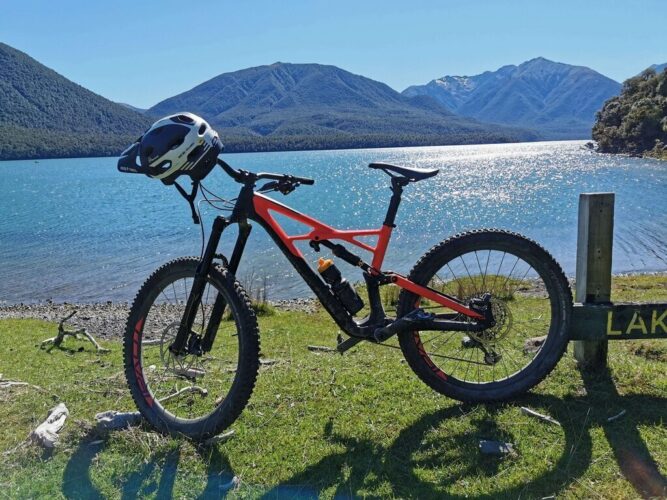
It is partially up to the rider and his/her preferences as you pretty much want a downhill bike that you can pedal uphill. However, if you are not afraid of having to slog up some hills on a slow bike, then a bike with more travel can be great for the descent.
A smaller bike around the 160mm travel will certainly do the job and be much nicer to ride uphill. It covers bike 150mm + as a general guideline, but there are many more factors than that.
Downhill Riding
The clues in the name with this one, downhill riding usually takes place in a bike park where you can either get a shuttle, gondola or chairlift to the top, and you just get to enjoy the descents.
You’ll see various trails in bike parks, varying from beginner to expert and hand-built to machine built. It’s got it all, and most riders love a day at the bike park to challenge themselves and, more often than not, their bike.
The Bike
Thanks to being shuttled to the top and the trails being downhill in nature, you don’t need a light bike that can be pedaled uphill.
Downhill bikes often don’t even have a low gear. This is because they are built for one thing: descending some of the gnarliest terrain around.
Typically they have travel over 200mm to plow through some rough, demanding terrain.
What to Wear
Thankfully you probably have most of the gear you need to at least give it a try.
If you decide you love it and want to do more (and I’m sure you will :)), then you can purchase some extra gear that will make your riding much safer and more enjoyable.
We’ll run through a list of important gear to keep you comfortable and safe out on the trails.
I have noted where you can get away without the gear when first starting or some alternatives that you might already have.
Bike
First and foremost is a bike capable of riding off-road and is all in safe working order. You don’t want things falling off or failing on you when you’re out on the trails.
We will run through some key bike checks later…
Don’t stress too much when you first start out what bike you have as long as it can tackle the riding you are doing. Then, as you progress, you will figure out what you actually want.
Helmet
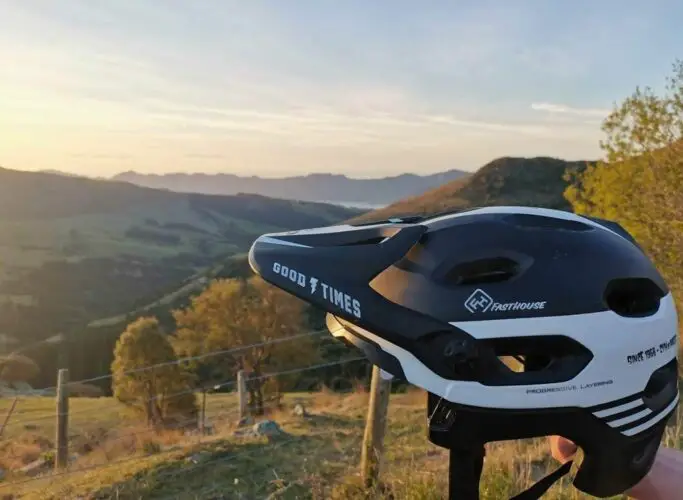
If there is a piece of gear to spend a bit of money on, it’s your helmet. Protecting your head is super important, and you should be very careful in choosing one. Check out our guide here.
It’s one piece of gear that you need as much as a beginner as an expert!
Shorts and Shirt
When you first start it’s absolutely fine to just wear something like running shorts and a sports shirt. But bear in mind that it won’t offer much protection in a crash.
When you decide mountain biking is for you, I recommend getting a set of mountain bike shorts with a chamois.
The chamois provides padding for the seat, and you just wear them under your shorts like underwear!
Mountain bike shirts are great as well. They are made of a smart fabric that keeps you cool and won’t rip easily in an accident, keeping you a little safer!
Shoes
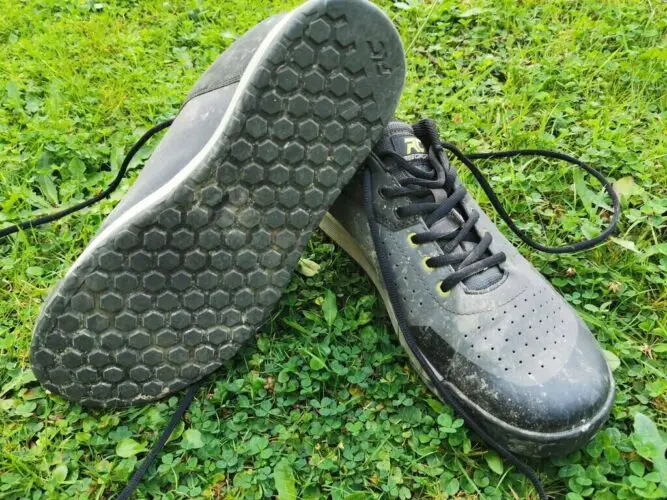
Assuming your bike is set up with flat pedals and you are just riding easier trails, then starting out with either skate shoes if you have them or running shoes is fine.
It will give you enough of a taste of mountain biking to get hooked!
Once you get a pair of MTB shoes, it will improve your riding significantly. These days even flat shoes can feel like your feet are glued to the pedals while still being able to get your feet off in a hurry.
See more on our article on whether MTB shoes are worth it.
Gloves
Again not essential for your first ride but a great addition after that. Gloves have a few key benefits;
First is if you take a tumble, they stop your hands from being shredded.
Second, if your bike handlebar grips aren’t super grippy and you get sweaty hands, they help grip your bars. Check out our top picks.
Knee Pads
You can get away without them when you first start, but they sure are nice to have.
For me now, I feel naked when I’m riding without them! However, there are so many comfortable ones on the market now that I would highly recommend getting a pair when you feel it necessary.
Check out here for what to look for.
So that’s a brief overview of some of the important gear that you will need. Most of it you can build up over time as your riding progresses.
How to Find Trails
Other than heading out with friends or asking a local bike shop where the best trails are, there are a number of different apps which can tell you where the trails are. The most popular of which is Trailforks. There are also some others such as Komoot, Strava, Alltrails and many more, but they are the top few.
What’s great about them is they show the grading of trails and often have a description of the track, so you know what you’re getting yourself into.
Apps like Strava also let you record your rides to keep track of where you have been riding and how your fitness is improving.
You can also share your ride with others and get into friendly competitions online.
I strongly suggest getting an app like Trailforks and going for a hunt in your local area to find all the trails it has to offer. You probably won’t know about some of them and could find some hidden gems!
Where to Go
Once you’ve found a trail you’re keen to explore, there are many different areas to go biking. You just have to find them.
Trails/Routes
First up is your trail or route that will appear to be one trail all by its self. Typically these are longer and go through some very scenic country.
Often they can take you way up into the hills/mountains and out to some remote areas, but that all depends on the trail.
Trail Networks/Centres
Next up are your trail networks and trail centers, these are the best places to start and offer a wide range of trails.
Trail networks are the most common types of riding and offer a network of trails so you can make a big loop and ride a bunch of trails or keep sessioning the same one.
Depending on where you live and the size of the network, you could be riding different trails for many rides, great for taking your riding to the next level.
Bike Parks
Similar to a trail network in the fact there is a bunch of different trails of all abilities, but they are often wider, machine built and have either a gondola, chairlift, or shuttle bus to get to the top.
They are great if you just want to ride a heap of downhill trails without having to slog your way back up.
It’s amazing how much riding you can get done with a day at the park.
A top tip for bike parks is to ride some of the more challenging trails earlier in the day, as you will be surprised how tired you get towards the end!
How Mountain Bike Trails Work
As a beginner, you may also wonder how it works when I get out to the trails? Thankfully its pretty chill, but I’ll run through the key things to know before heading out.
Trail Grading
First up is the grading. This is really important as it stops beginners from getting themselves on an expert trail which can be really dangerous.
Once you ride a few trails you will soon figure out where you sit in them. It is also great to see your progression through the trail grades with time.
Depending on where you live in the world depends on how grading system they use, thankfully they all follow a similar trend.
Beginner/Easy (Green)
A great place to start where the trail will be relatively flat and wide but may have uneven loose or muddy surfaces.
Suitable for most people in good health and doesn’t require much technical ability.
Intermediate/Moderate (Blue)
Basic off-road biking skills are required here, where the trail may have small roots or rock to maneuver over. It can also include some short, steeper sections and small features, but no drops or gap jumps.
They will have slightly bigger hills than a beginner trail but are still suitable for most fitness levels.
Advanced/Difficult (Red or Dark Blue)
This is where things really start to step up. You will need a decent level of technical mountain bike skills to ride these trails.
The terrain here gets steeper, rougher and tougher.
You can expect a very variable surface, with unavoidable rocks, roots and small drops.
A high level of fitness is required for the climbs and descents that the trail will throw at you.
Expert/Severe (Black or Black Diamond)
The trails here get gnarly and are often very exposed where there is little room for mistakes. They are demanding and require a high level of fitness to navigate both the descents and the climbs.
You can expect large mandatory features with steep chutes and changeable terrain.
Extreme/Grade 6 (Double Black Diamond or Orange)
Expect to find extremely steep sections with large drop-offs and other unavoidable obstacles. The trail will be demanding, exposed and may include manmade structures and jumps.
These trails will be almost impossible to walk down without a bike, so make sure you avoid the trails until you are ready.
You will be surprised at how quickly you progress and get more comfortable on the bike if you just keep riding. Having ridden all the grades now, I remember it wasn’t that long ago where the expert trails seemed impossible!
Trail Etiquette
There are certainly a few rules that you should follow when riding. They’re good for everyone and make sure people can keep enjoying the trails that your region has to offer.
Many regions or bike trail centers will have some sort of mountain bike code that you should follow when out on the trail.
It’s nothing too serious and shouldn’t put you off. They typically cover some of the below points.
Respect Others
Covers things like staying in control, giving way to walkers and signal approach to other riders and pass with care. It basically means just make sure you are not going to hurt someone else or yourself.
Respect the Rules
Meaning riding only where permitted, obtaining permission from private landowners, leaving gates as you find them and being prepared with the necessary gear and food.
Respect the Track
Depend on the area will depend on what these are and how strictly they enforce them. Different trail conditions behave differently under different weather conditions. Usually includes, avoid skidding and cutting corners, avoid riding in the mud and taking rubbish home.
None of these rules are tough to follow, and you soon don’t have to think about them.
Other things are just being a good person, like helping out people who may need it and being friendly to everyone around.
After all, we are all out there to have some fun!
Key Gear and Bike Checks
I alluded to it earlier that looking after your gear is important as it can avoid costly repairs and keeps you safe.
Mountain bikers follow the ‘M’ check of their bike before heading out on the trails. It’s super simple and only takes a minute.
- Front Wheel – Check the wheel is securely attached and that the spokes are all in good order. Try to move the wheel side to side to pick up any play in it. Also, check your tire pressures and make sure your brakes work correctly.
- Handlebars – The main one here is to check your bars are straight and secured tightly. It’s also good to check that the brake levers are secure and in a good position for you.
- Bottom Bracket – Bottom brackets do wear out, so check for play in them by having them up and down, applying the brake and giving them a push. There shouldn’t be any movement there. While your down there, give your pedals a quick check.
- Seat Post and Shocks – Make sure your seat post is secure and at the right height. If you have a full-suspension bike the bearings are often loose so give those a check, remembering not to over tighten them.
- Rear Wheel – Do the same checks as the front but also check the gears and chain. Make sure they are all lubed up and change smoothly.
It sounds like a lot, but once you do it a few times, it doesn’t take long. It can save you and your time when you are out on the trail.
How to Improve
Now you have got set up with everything you need to start mountain biking, it’s time to start thinking about how you’re going to improve. There are many ways to speed it up, but it ultimately comes down to time on the bike.
A great way to start is to ride with people that are better than you. Following someone better than you is great, as they push you to ride that bit faster and show you new lines.
Even just seeing them do one section can make you much less nervous about giving it a go. If they’re really good and committed to training you up, get them to follow you. They’ll be able to give you great pointers on where to improve.
Ultimately, time on the bike will make you better, so get out there and ride! It also pays to mix it up and ride in as many different areas as you can.
New trails will introduce new terrain and help you build up a significant level of base skills.
Mountain Bike Terms
There are a number of terms used to describe different things in mountain biking.
Here’s a summary list of the key ones to stop you from looking lost out on the trails.
Berm – An angled bank on a trail corner that provides support as you corner
Drop – A section of trail where there is a flat takeoff before the trail drops away, often there is a landing to aim for, but not always.
Feature – Typically used to describe a significant section of the trail, it could be a drop, jump, bridge, etc.
Chute – A steep, narrow section of trail that you can’t stop on.
Off-Camber – When looking across the trail is not flat and will want to push you down off the trail.
Manual – The act of keeping the front wheel of the bike in the air. A great skill to have and can be put to use on the trails.
Pump – The art of keeping speed and momentum by absorbing and pushing into the undulations in the trail.
Techy – A techy trail has lots of tricky features in there that are challenging to ride and hard to find flow. They are often slow trails.
Bonk – When you are out riding and completely lose all energy – you will know when you have bonked.
Shred – To ride a trail aggressively, fast, or in style is often referred to as shredding.
LBS – Abbreviation for ‘Local Bike Shop’.
Frequently Asked Questions
Finally, to finish it all off, here is a list of common questions that beginners have when starting mountain biking.
Is Mountain Biking Dangerous?
There is a certain amount of risk involved with any outdoor activity, mountain biking included. However, the truth is, if you stay within your ability and slowly progress to more challenging trails, you don’t expose yourself to too much risk.
Mountain biking doesn’t have to be dangerous. When you get skilled up, the consequences can be higher, but mistakes are less common.
Part of the joy for some people is the element of danger, but as I said, you don’t have to ride those trails.
In short, it doesn’t have to be. It purely depends on the trails you like to ride.
Is Mountain Biking Hard to Learn?
Yes, it’s not something you will be good at overnight. It will take time.
After all, a big part of the enjoyment of mountain biking is watching how you progress over time. It will be up and down, but you will get there.
The great thing about it is that there are trails for all abilities, and they are graded so you can progress up.
Does Mountain Biking get you Fit?
The short answer… yes. It is a physically demanding sport and engages muscles from all around your body. Not to mention the cardio required to get the bike moving and to the top of the hill.
When coming down a rough trail, you’ll rely on your core muscles and upper body strength to keep you on your line and on your bike.
